|
|
|
Sidebar: Navigate |
|
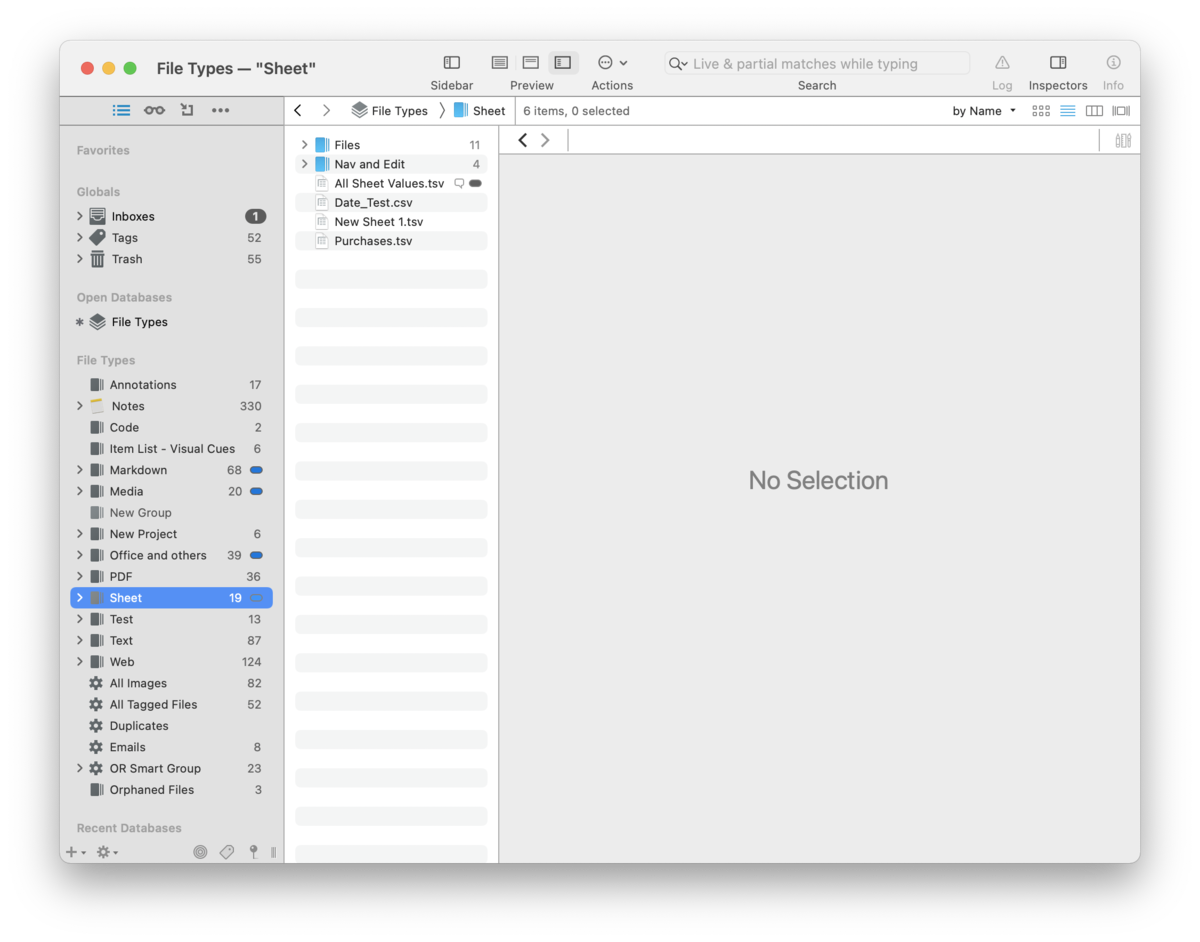
The Navigate pane is the default sidebar where you will access to your databases, tags, items located in Favorites, etc. Additionally, you have access to some specialized items: global smart groups and smart rules.
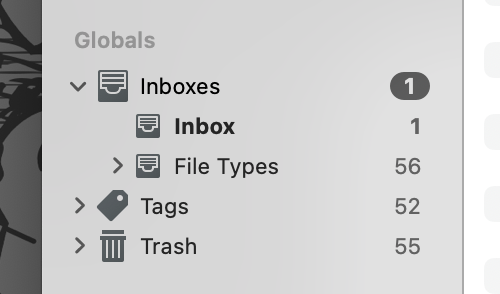
Each section in the Navigate sidebar has its own specific purpose: giving you access to frequently used files, navigating database groups, or viewing a list of similar files. The sidebar will only show databases and groups. Selecting one of these items will display its groups and files in the item list. This allows a clear view of the group structure in the sidebar, while still allowing you to interact with the contents in the item list. Alternatively, you can view the group hierarchies directly in the sidebar. Excluding smart groups and smart rules, selecting multiple items will show a union of their contents in the item list. The sections in the Navigate sidebar can be dragged to reorganize them as desired. Sections you don't need to use as often can be collapsed to reclaim the space or to provide a bit of privacy. Unified Elements By default, specific parts of databases are shown gathered in specific sections, similar to how Apple Mail displays the inboxes of all accounts in the same section. Globals: The Globals section provides quick access to three locations common to all databases: the Inbox, Tags, and the Trash. If you click a top level section, e.g., Inboxes, you will see a combined view of items in the inboxes of all open databases. This can be especially handy if you want a view of all the tags you're using in your databases. Click the disclosure triangle next to each section to show the locations for each open database, allowing you to access the locations on an individual database level.
Inboxes: The inbox of a database, like the real-world counterpart on an office desk, is where incoming, unfiled items are kept. Every database has one by default and you can see the name of the database each inbox belongs to. The Global Inbox, shown just as Inbox, is a special, always-open database present in every installation of DEVONthink. This is highly useful when quickly capturing data, e.g., web clipping, screen captures, etc., without stopping to file things. You can then go back later and file these items at your leisure.
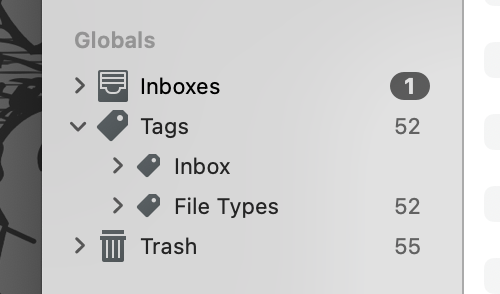
Tags: The Tags section provides quick access to all the tags you are using or tags within individual databases. If you click the top level tags, the item list will display all the tags you've created. Open this group and click on a database's name to show its tags. If you like to create nested or hierarchical tags, you can drag and drop existing tags in the sidebar or the item list. Typically you will use the Tags bar in the View/Edit pane or the Info Inspector or Info popup to apply or create tags. You can also drag items in your database to the individual tags. When you create a tag it will automatically appear in the Tags group of the database you're in. If you want to create new tags to be used later, select the Tags group for the database and choose Data > New > Tag. Or from the contextual menu, Control-click the database's top level Tags group or an existing tag and select New Tag. If you find yourself in a situation with multiple tags you'd like to merge, select the Tags group for the current database to view the tags in the item list. You can then select the tags there and choose Tools > Merge Items. Removing entire tag groups can be done by dragging and dropping to the sidebar's trash. From the contextual menu, you can choose Move to Trash. You can delete tags in the item list as well. One thing to note: When you delete a tag, the original file in the database is preserved. What you see in the database's trash is the replicant that was created in the tag group when you added the tag.
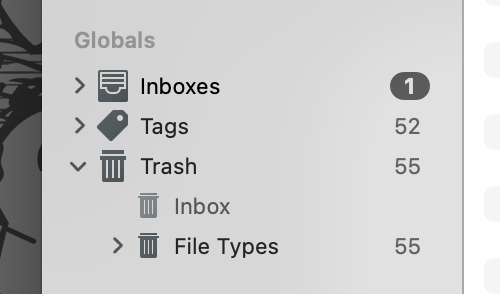
Trash: Every database has its own individual trash. This allows you to see, and potentially retrieve, items you've deleted from your individual databases. Just as with the real-world trash bin, we do suggest you empty your databases' trash regularly. It is not meant as another filing location, and items marked as missing will still register as a problem for a database. Select the trash, the top level or individual database's trash, and choose DEVONthink > Empty Trash. The command is also available in the contextual menu, when Control-clicking a trash. Trashed files are not deleted completely from the machine but are put into the system trash.
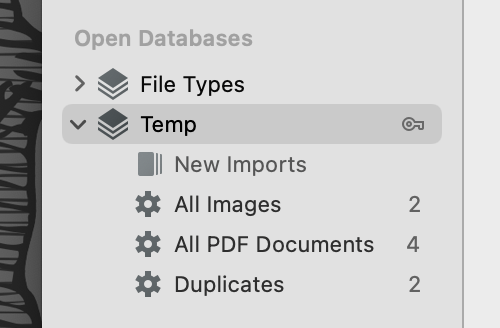
Open Databases: This section is where you see and access any databases you have currently open. Click the database's name to display items in the root of the database. Clicking the disclosure triangle allows you to show groups, and subsequently sub-groups in the database. As mentioned above, selecting a database or group will display its subgroups and files in the item list. Non-Unified Elements As the unified views may be less comfortable for some people, DEVONthink allows you to decide what database elements you want to unify. Controlled by options in Preferences > General > Sidebar, you can enable or disable unifying: Inboxes, Tags, or Databases. Inboxes: If you disable unifying the inboxes, only the Global Inbox will be shown in the Globals section. The inboxes of individual databases will be shown in the item list when the database is selected. Tags: Similar to the inboxes, disabling this option will display the Tags group with other elements in the selected database.
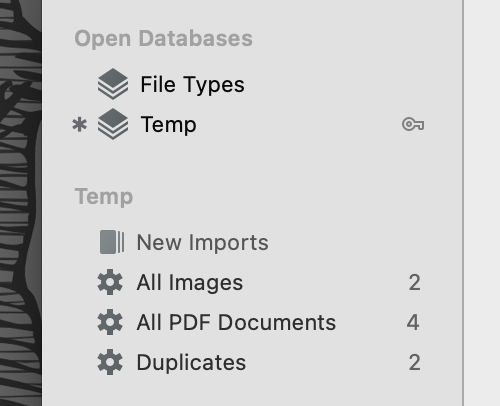
Databases: When disabled, DEVONthink displays a database's name in the Open Databases section of the sidebar but the contents will be shown in a separate section. The current database will be marked on the left by an asterisk For switching between active databases, select another database and the active database section will display only the groups and smart groups of that database. Also, there are Previous Database and Next Database commands in the Go menu. When using the keyboard, hold the Command key and press the up and down arrows to view the contents of another open database in the item list while showing the contents of the previously active database in the active database section. Press ⇧-↩ to change the active databases section to the currently selected database. Contextual Menu There are a few specific contextual menu items found in these sections of the Navigate sidebar. These commands are also found in the File or Data menus:
Any section-specific contextual menu items that may require explanation are discussed in their respective sections below. Favorites There are many times we have specific databases, groups, or documents we return to, again and again. Shown at the top of the sidebar by default, the Favorites section allows you to create shortcuts to quickly access any of these kind of items. Drag a group or a document to this section's header and you'll see a curved arrow on the cursor. Drop the file and you have a new favorite. An option to Add to Favorites is available in the contextual menu commands of most items in DEVONthink. Use Remove from Favorites when Control-clicking on already favorited items to remove them. Select an item in Favorites to quickly access it. If an item was last viewed without a preview, it will be displayed in its own window. If you see a favorite is greyed out, it means the containing database isn't open. Double-clicking the item will open the database, if possible, and display the item. Drag items in the section to reorder them. Groups in Favorites behave as normal groups, so you can drag items into a favorited group for quick filing. This includes using ⌥ and ⌘⌥ to duplicate or replicate items while dragging and dropping to them.
Recent Databases The Recent Databases section provides quick access to reopen closed databases. This will list the last ten recently closed databases. Double-click any databases you'd like to open. Smart Groups The global smart groups function the same as local smart groups, i.e., the ones in your individual databases, but generally their scope is all open databases. This allows you to have reusable searches targeting all your open databases, e.g., all Markdown documents in all databases created in the last month. These global smart groups can be modified to target more specific locations, but such a smart group would be better suited as a local smart group, i.e., in the particular database. DEVONthink comes with some pre-installed global smart groups:
You can create a smart group from the contextual menu or the + button at the bottom of the sidebar. By default all open databases will be targeted. However, if you have an item selected in the Globals or Open Databases sections, the smart rule will use that location for the matching. Control-click a smart group to Edit, Rename, Duplicate, or Remove it. You can also copy a link to a smart group, export it to the Finder, or import previously exported ones. If you'd like to convert an existing smart group into a smart rule, ⌃-click the desired smart group, hold the ⌥ key, and choose Duplicate as smart rule. If you have exported smart groups in the Finder, double-clicking them will import them. You can also drag them to the smart rules section of the sidebar. For more information on editing smart group properties, global or local, see the Smart Group Editor section of this chapter. Smart Rules Similar to smart groups, smart rules are created, edited, and behave in a similar fashion. However, they have one distinct difference: they can act on the items matched. The smart rule matches items just as a smart group does but they perform actions when certain events take place. This makes them a very powerful way to add automation to your DEVONthink life. DEVONthink provides a few useful example smart rules to get you started:
If you Control-click a smart rule and choose Edit, you will see the criteria, event trigger, and actions for that rule. Like smart groups, you can create a smart rule from the contextual menu or the + button at the bottom of the sidebar. The target of the smart rule also follows the same behavior as a smart group: all databases are targeted unless you have an item selected in the Globals or the Open Databases section of this sidebar. Control-click a smart rule to Edit, Rename, Duplicate, or Remove it. You can also copy a link to a smart rule, export a smart rule to the Finder for archiving or sharing, or import previously exported rules. Double-clicking exported smart rules imports them, and so does dragging them to the sidebar. In the contextual menu for a smart rule, notice there is also a smart rule-specific command: Apply Rule. This runs the clicked command on any matching files. This means it will performs its actions, even if the event trigger is not set to On Demand. Be cautious about using this command unless you are certain you want to affect all matched items. There is also an option to copy the item link for a smart rule by choosing Copy Rule Link. Also when you Control-click a selected smart rule, you will see a Disable Actions or Enable Actions option, depending on the state of the selected rules. Use this to toggle the active state of any selected rules. This can be useful in debugging situations. There are two commands in the Tools menu related to smart rules:
Drag and Drop: Lastly, you can drag and drop items onto smart rules to apply their actions to them. Dropped items will be acted on, ignoring the location and criteria specified in the smart rule. For example, you may have a smart rule to add the date to the beginning of the name of images imported into your Global Inbox. However, you could drag and drop a rich text file from a separate database on to the smart rule and the date would be prefixed to the name, even though the location and file type do not match the rule. For more information on editing smart rules, see the Smart Rules section of the Automation chapter. |